Mandaris
Sick on a Saturday in Summer
Looking at WWDC 2024
Next Monday, Apple will be holding it World Wide Developer Conference for the year. It usually marks the time that I destroy my cell phone’s battery and complain about all my dropped calls and message malfunctions.
But every year, I find myself enjoying the prospects of something new.
This year, I’m looking forward to it but my expectations are rather low.
If I had asked people what they wanted, they would have said faster horses
Maybe it’s because I am getting older or that I am fulfilled in other ways, but I don’t see much need in a lot of the promise that some of the newer technologies are offering.
I like having transcripts for my podcasts.
I like having more cohesive alt messages for my images.
These are good things that really help everyone.
No butts about it. And yes, I gave it two t’s.
I just don’t have any passion for the rest of it. Whether it’s AI, vision, or even an update to how to add contacts to my address book, I’ve been finding myself more and more apathetic to changes in my own technological stack.
I just needed an outlet.
I hate my landline. All I get is spam calls interrupting my day. It’s criminal the way these people keep calling and trying to take advantage of others. There have been several times that I had to help my parents with some kind of issue related to passwords and security.
XMPP to the past
I took fLaMEd’s idea of adding my XMPP handle to my about page. It’s part of the omg.log service that I signed up for a while ago.
I’ve got two people that I chat with using it. It reminds me of when I was in high school and instant messaging was the thing to do in my social group. It makes me feel a little nostalgic.
📺 X-Men '97 (2024) - ★★★★☆
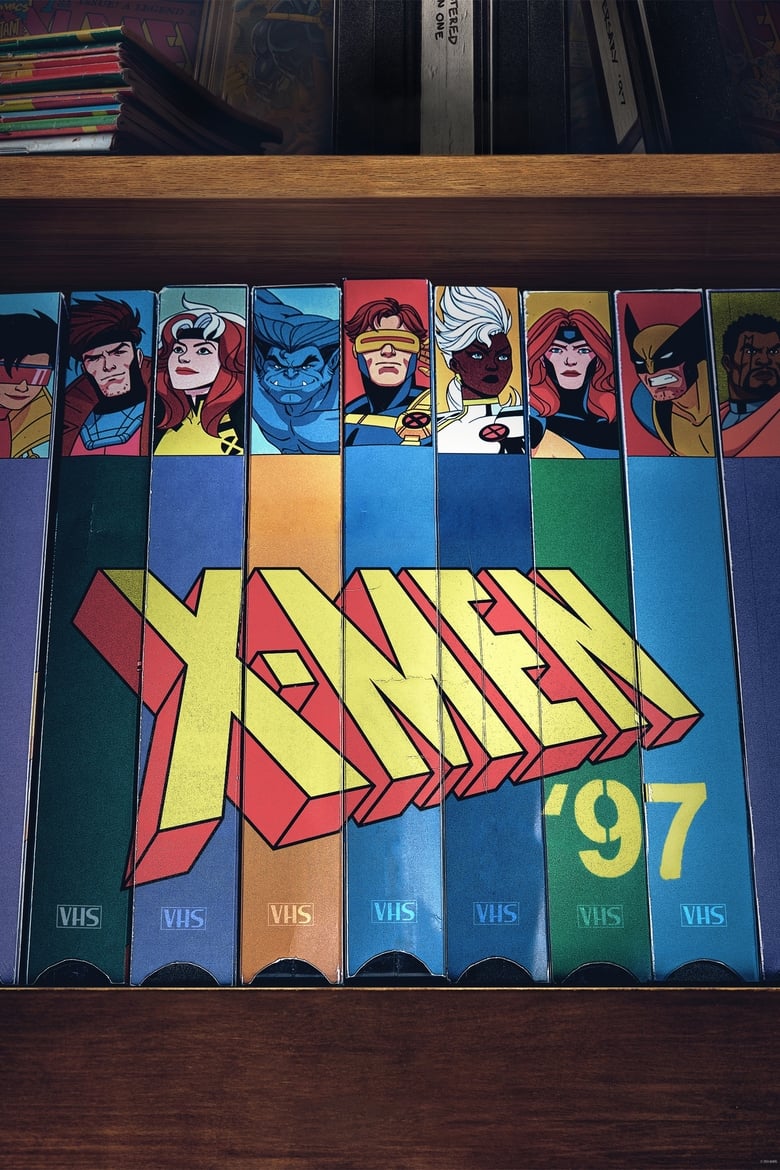
It’s a reboot of a show I would watch on Saturday mornings as a kid. Back then, the violence was hidden with lasers and characters that would die offscreen. The original did have some darker moments, but you had hope that things were going to work out. This version gives you that hope and then proceeds to crush it.
When I was younger, I would jokingly yell “Moooooooorph!” when a character I barely knew died. Call it immaturity. I was ignorant of what losing someone meant. Not to say I don’t still laugh at dark humor or that every dead character brings me to tears, but now I have more of an understanding that a characters death can and should1 have impact on the plot and other characters.
My only complaint about the show is that it runs through a lot of the different plots and themes that happened with the X-Men in the 90s. Plot lines that would take years would be addressed in a couple episodes and we don’t get a chance to sit with some of the changes for very long. If you are watching during the weekly release, I feel that it would be better so that you can really sit with what happens. If you are binging, you might feel you are missing something; like a stage in the grieving process.
Overall, this is a wonderful show that highlights that animation can convey themes with deeper meaning… even when there are big lasers.
The X-Men, a band of mutants who use their uncanny gifts to protect a world that hates and fears them, are challenged like never before, forced to face a dangerous and unexpected new future.
-
Spoiler for a 20 year old cartoon, but the character I’m referring to came back. If I remember correctly, it was actually a pretty decent “I am back from the dead and I want revenge” plot. But I was 10 or 12 at the time. Of course, Superman had died and come back at that time so I don’t know if I was very impressed. ↩︎
Last night I did an all-nighter and just kind of slept walked most of the day.
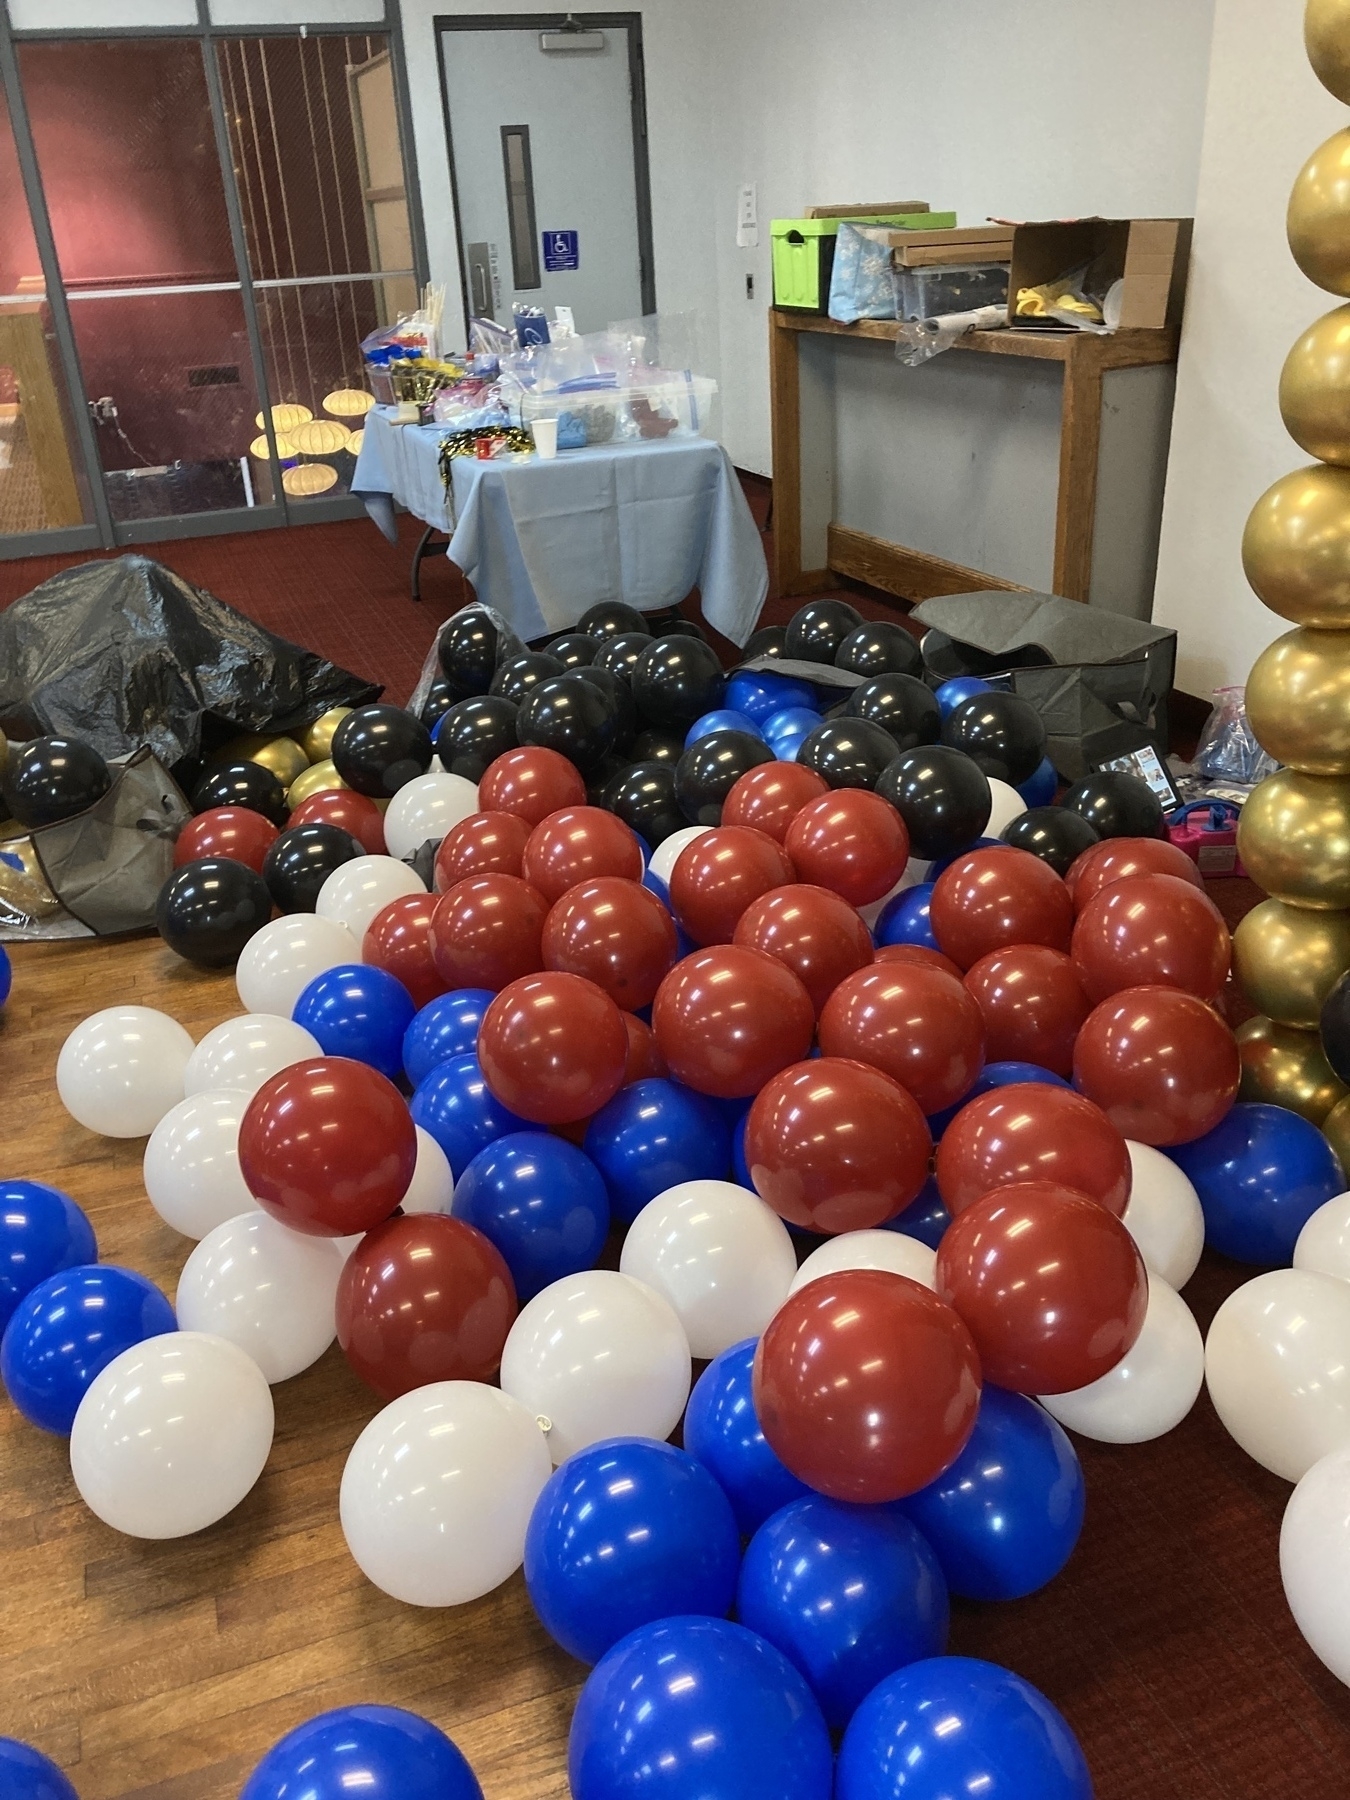
I hate balloons 🎈
Good night!

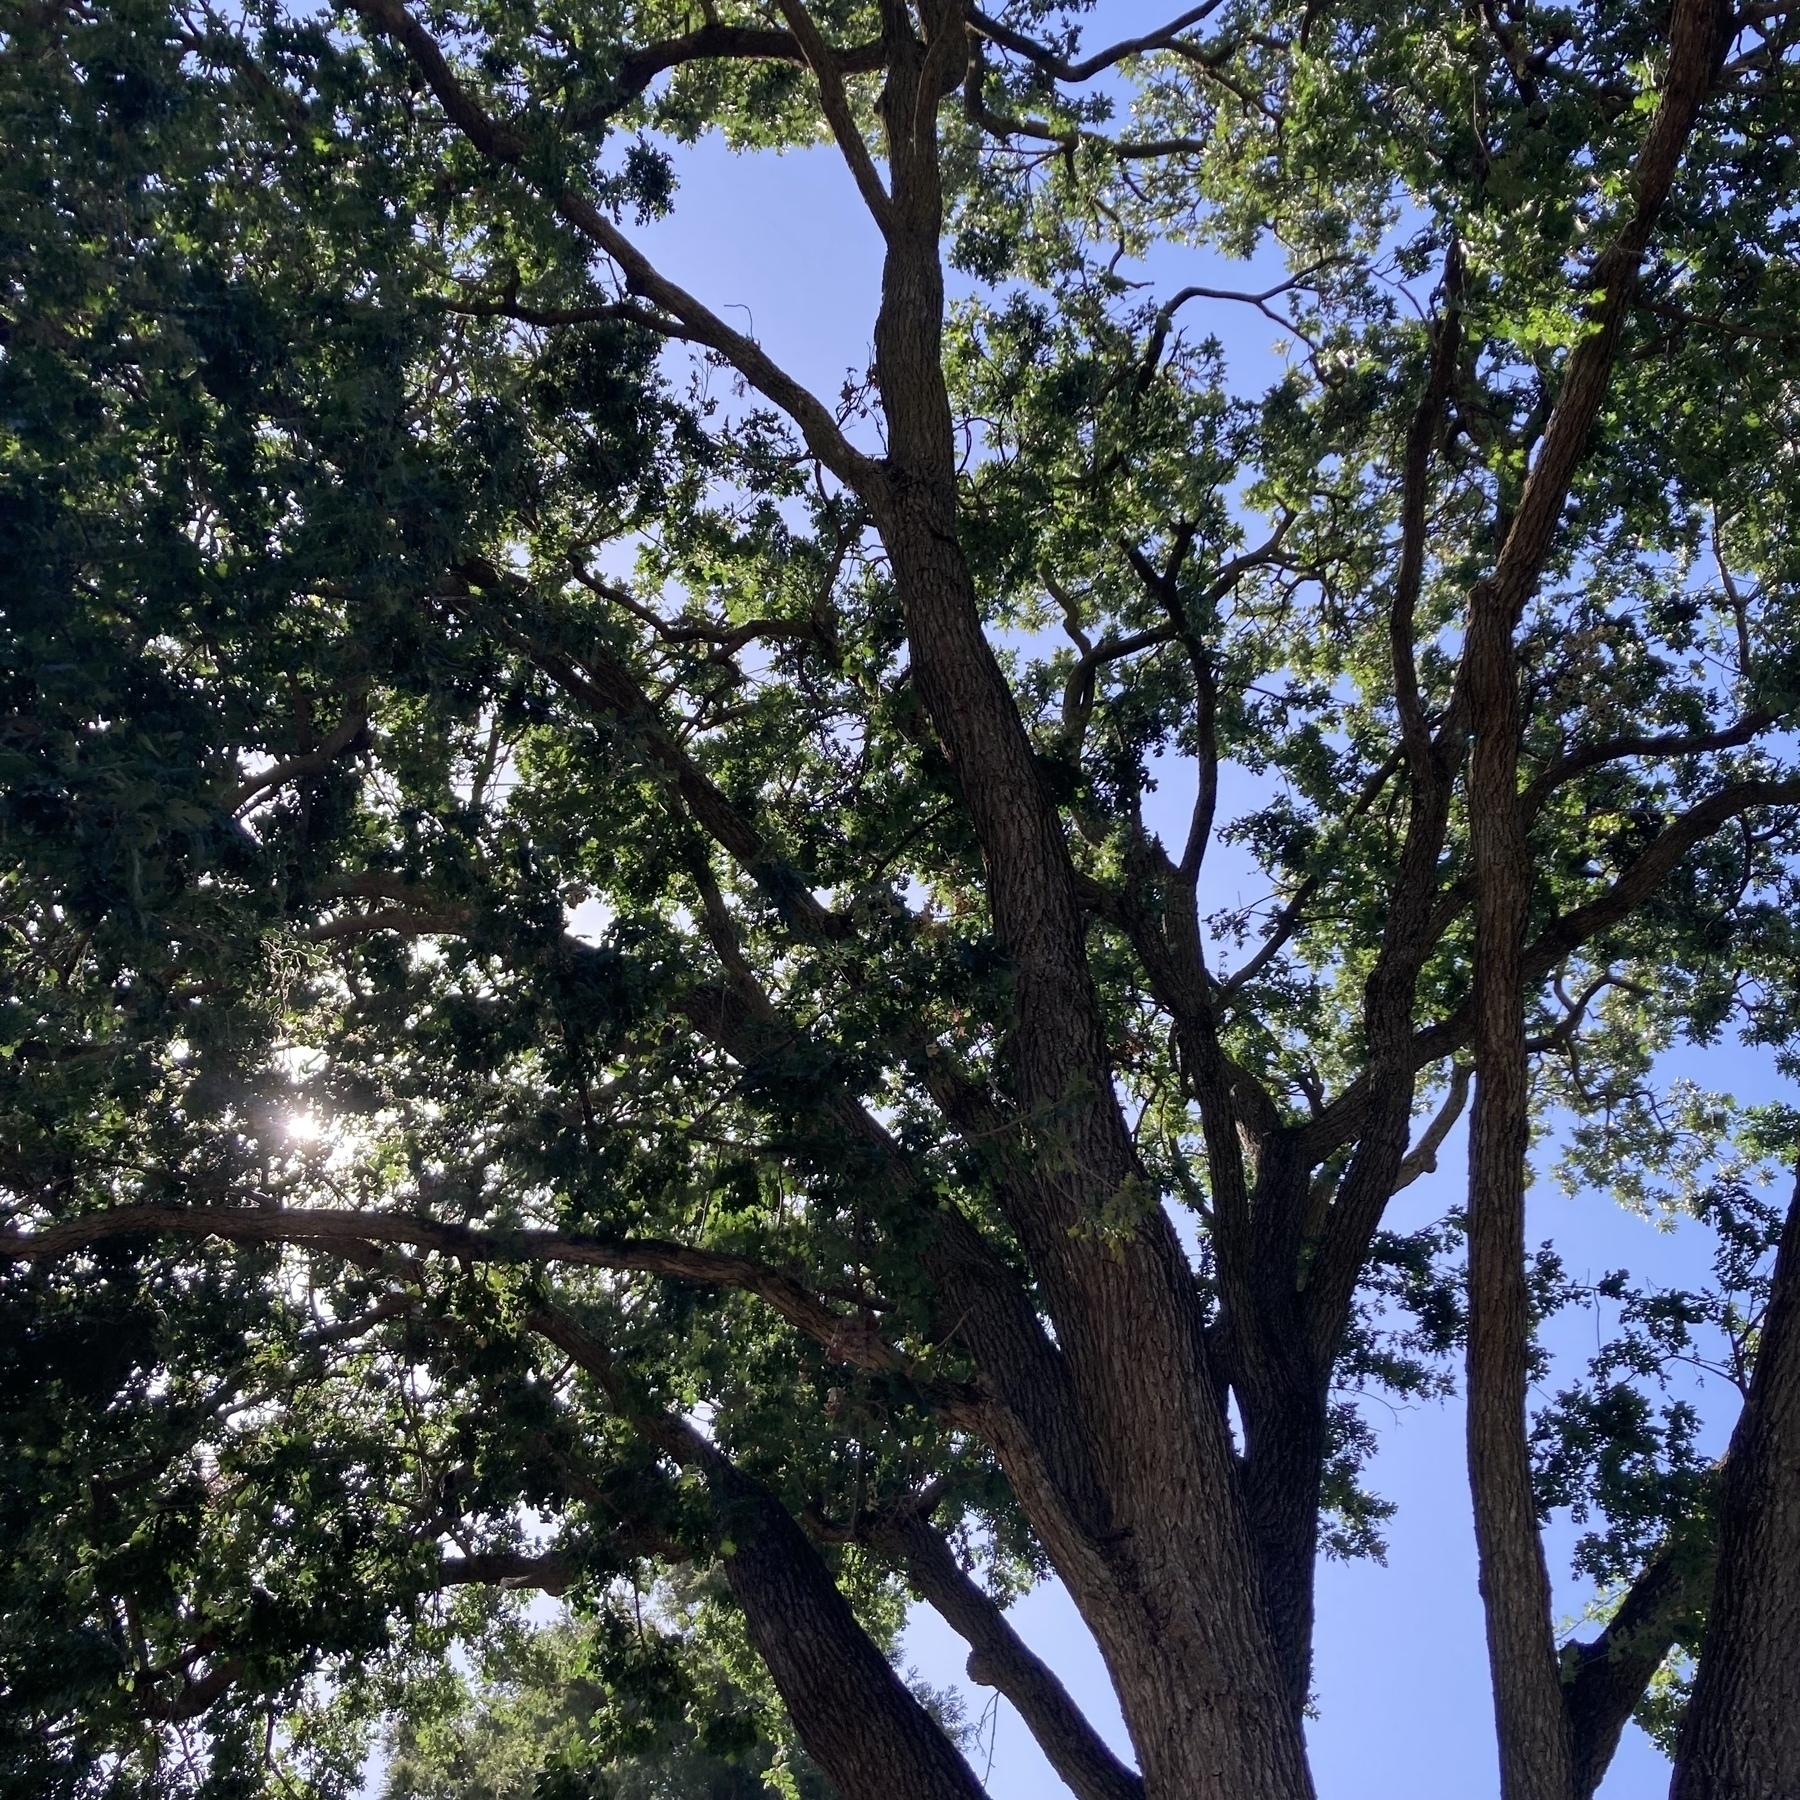
This view under the trees just looked nice.